Here's a quick post about how I prepare portfolios for our county homeschool review.
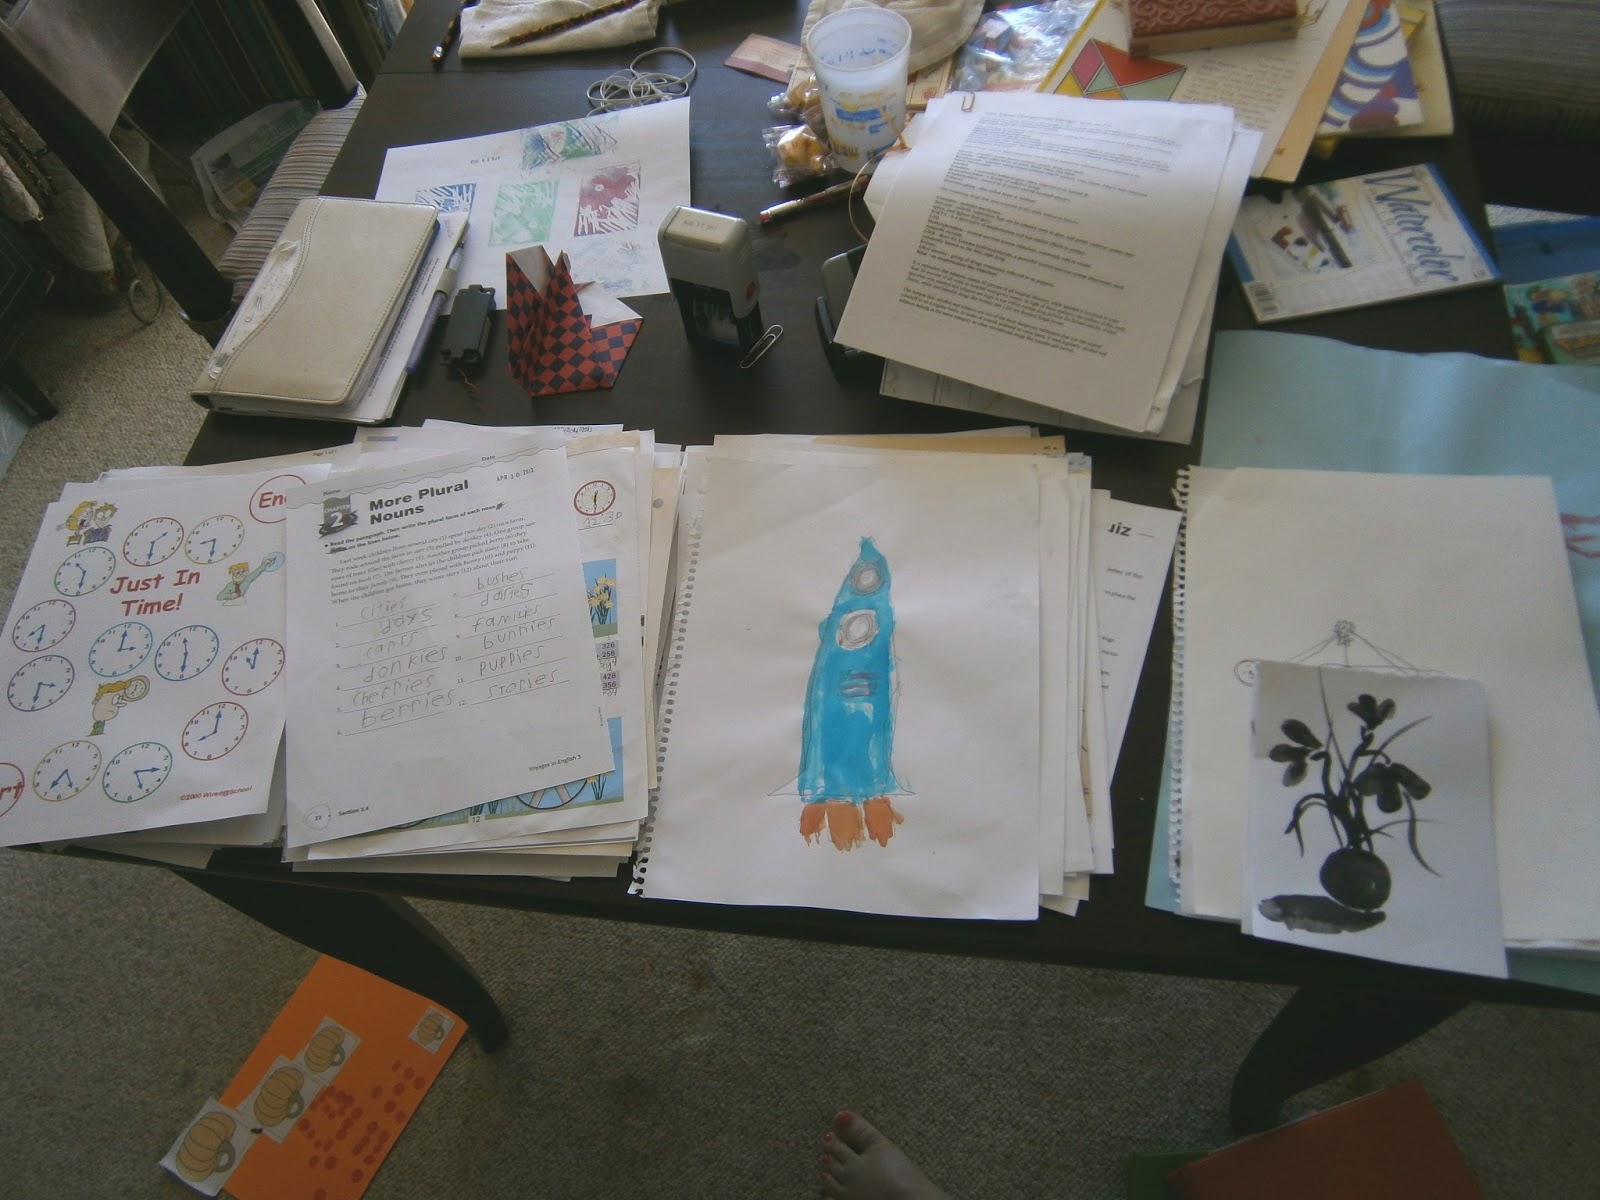
About two to four times per month, I sit down with a stack of papers like this.

My first step is to sort the papers by child.
I end up with five stacks: one for each child, one of school printouts that will not go into portfolios, one of weird miscellaneous stuff that doesn't belong with school papers at all, and recyclables.
For the next phase, I grab my planner, date stamp or pen, hole puncher, and a pair of scissors.

Sometimes, my kids don't date stamp their work. The planner is helpful to remind myself what we were doing on what dates. The scissors are for cutting off this stuff.

I take out anything that cannot be hole-punched and put in the binder.

Doesn't this stack look much more manageable already?
These odd sized things go in the front pocket of the binder.

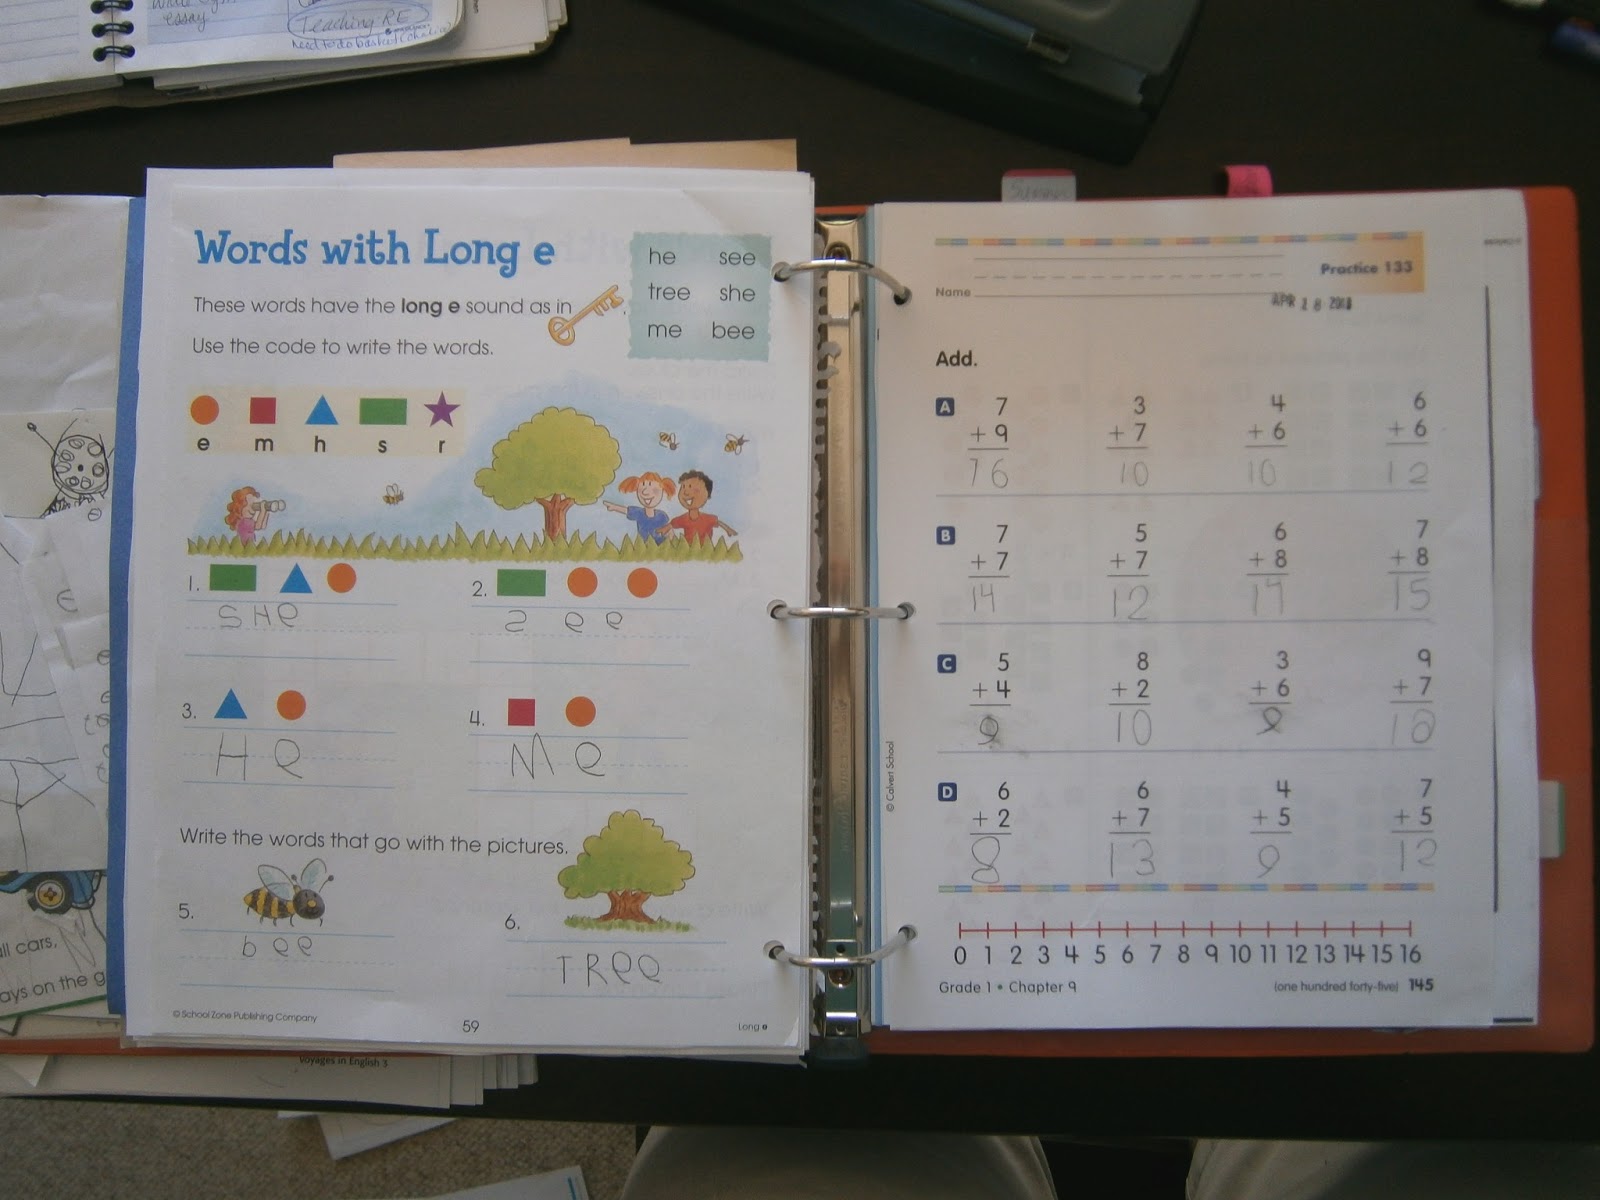
After everything has been date stamped, I start adding things to the binder, in chronological order. I include an example per week from each subject. If the subject isn't obvious, I make a note on the top of the page.
I add photos by pasting them onto computer paper, adding a caption or date if appropriate, and add it to the binder.

I like to include photographs of our workspace, classes outside our home, social time, art projects that don't fit in our portfolio, our garden, travel, and pictures of the boys doing some of their work.
Anything that doesn't go in the binder goes into the large paper portfolio. I have one for each child. This is also where any oversized projects get stored.

I hope this helps someone else keep all this paperwork organized!
No comments:
Post a Comment